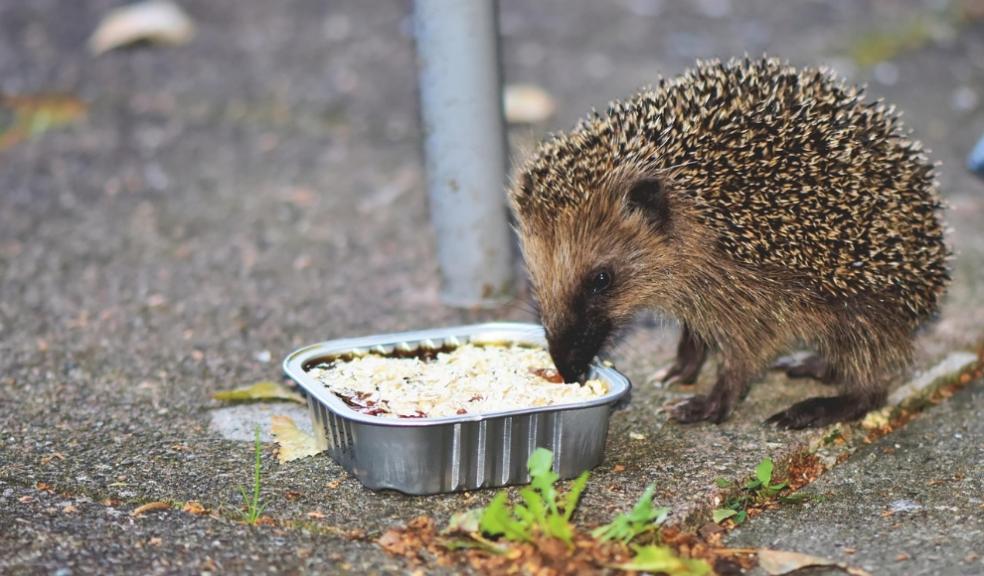
Expert advises on how to build a "hedgehog house" - as trades rally to help the hedgehogs
Hedgehog houses have attracted a lot of attention over the last few years - and not always for the right reasons. In fact, several large retailers were criticised for selling ready-built plastic homes that were not fit for purpose. One wildlife expert went so far as to call them hedgehog death traps.
However, with hedgehog numbers in steep decline, with experts estimating the population falling by 75 per cent in the last 20 years, shelter for our hedgehogs is essential. Now experts from MyBuilder.com, the reliable way to hire tradespeople, is providing Brits with a guide to building the perfect hedgehog house.
From the right materials to use for the build to where to place the completed house, the guide ensures a safe and effective hedgehog home, which will hopefully encourage your local hedgehogs to take shelter when they need to.
The guide is being produced as part of the brand's Trades to the Rescue campaign - with this one focusing on the beloved icon of British wildlife. MyBuilder has a unique ability to help this cause - habitat loss is the number one cause of declining hedgehog numbers, as housing developments continue to pop up, and new roads and train lines are constructed.
Andy Simms, from MyBuilder.com, said: "Sadly, many major housebuilders have reneged on their promises to construct new developments with wildlife friendly features, such as hedgehog highways or tunnels. This has contributed to the issue of habitat loss and declining numbers.
"Providing a hedgehog with a little house is a simple, inexpensive, and convenient way to play your part in rescuing our spiky friends, and getting those numbers back up, and we'd love to help."
Below is MyBuilder's guide to building a perfect hedgehog home. You will need a hammer and nails.
-
Assemble the Main Box
Nail or screw the two side panels (30cm × 26cm) to the base (40cm × 30cm). Then attach the back panel (40cm × 30cm) and the front panel (40cm × 21cm, with the hole). Secure all pieces with nails/screws.
-
Attach the Feet
Nail or screw the four 8cm × 8cm feet to the base corners to lift the house off the ground.
-
Make the Tunnel
Nail or screw the two tunnel sides (30cm × 13cm) to the tunnel base (30cm × 17cm), then add the tunnel top (30cm × 17cm). Secure the tunnel to the front panel, aligning it with the opening.
-
Fit the Lid
Attach the lid (40cm × 30cm) using the metal hinges so it can lift open for cleaning. Make sure it fits snugly but allows easy access.
-
Add Insulation & Protection
Place newspaper and straw/dry grass inside for bedding. Cover the whole house with polythene sheeting, then pack soil and leaves around it for insulation.
-
Position the House
Place it in a quiet, shaded spot with the tunnel entrance facing south. Make sure the entrance is kept clear at all times.
Hedgehog house "dos"
DO place it in a quiet and sheltered place in your garden, away from any pets or predators.
DO consider how much shelter from the elements it will have - try and find a spot out of the wind, or under cover if possible.
DO leave an area of your garden wild to encourage hedgehogs in, with longer grass. This area would also be great to place your hedgehog house.
Hedgehog house "don'ts"
DON'T paint the inside of the hedgehog house. While it may be tempting to pretty up their house, it's actually a massive no-no. Paint is very harmful to hedgehogs and must never be used on the inside of their home. Painting the outside is ok (if somewhat unnecessary), but make sure you use a water-based, non-toxic paint.
DON'T use plastic - it's not environmentally friendly and can break. If it does break, sharp edges can cause serious injury to the animals.
DON'T put food inside the hedgehog home. It can attract predators and pests, and will cause the home to get dirtier, faster.
To see the MyBuilder Hedgehog Awareness campaign page, which included more advice and insight see here - https://www.mybuilder.com/blog/help-the-hedgehogs


